Repair your racking before it is too late!

Someone, but no one in particular, damaged a rack upright in the warehouse. He hit it hard now you need immediate rack repair.
The rack is so damaged that you have told the team to unload the racking and cover the bays with caution tape so that no tries to load pallets into the damaged bay. There is so much black and yellow tape, it looks like a police crime scene. Now, you are online searching for someone to help you fix the problem.
You could go out and find similar racking components, take everything down and replace the damaged uprights, or you could repair only the part that is damaged using Lean Materials Handling’s innovative certified rack repair system.
Rack Repair Cost Calculator
Fill out the form below to get an instant estimate for rack repair.
Want to learn more? Read on to learn how rack is repaired.
How to Fix Damaged Pallet Rack
You may have heard of pallet racking repair kits. Repair kits have been around for a long time, but are only now becoming popular. The reasons for rack repair kits recent surge in popularity include:
- Manufactured to be as strong or even stronger than the portion of racking they are replacing.
- It is less disruptive to repair the damaged portion of the racking than it is to take apart the large racking system and replace the frame.
- It takes less room. In some cases, the components needing to be replaced are too large to take down and maneuver within a narrow aisle and/or cooler.
- It takes much less time to repair an upright than it does to replace an upright. Expect each upright repair to take between 20 – 40 minutes.
Already know what you want? Looking to buy warehouse rack protectors? Buy post protectors online.
Rack Repair – Step by Step Guide
Step 1 – Inspect Damaged Racking
It is simple to repair pallet racking, but it is not easy.
To fix your rack, you will first need to invite Lean Inc. to visit your warehouse and assess the damage. This involves filling out a site survey, taking detailed measurements, photos, and checking for paint matching.

Step 2 – Design, Engineer and Manufacture Bespoke Rack Repair Kits
Once the rack damage data has been collected, engineers will analyze the data, including.
- Rack Style
- Size of column
- Baseplate size
- Height and length of rack struts
- Height of the first beam
- Height of the rack damage
- Color of the racking
Using the above data, the rack kits will be engineered to match or exceed the capacity of the current rack. The kits will also be color-matched to help the existing rack blend into the background of the remaining beams and uprights.
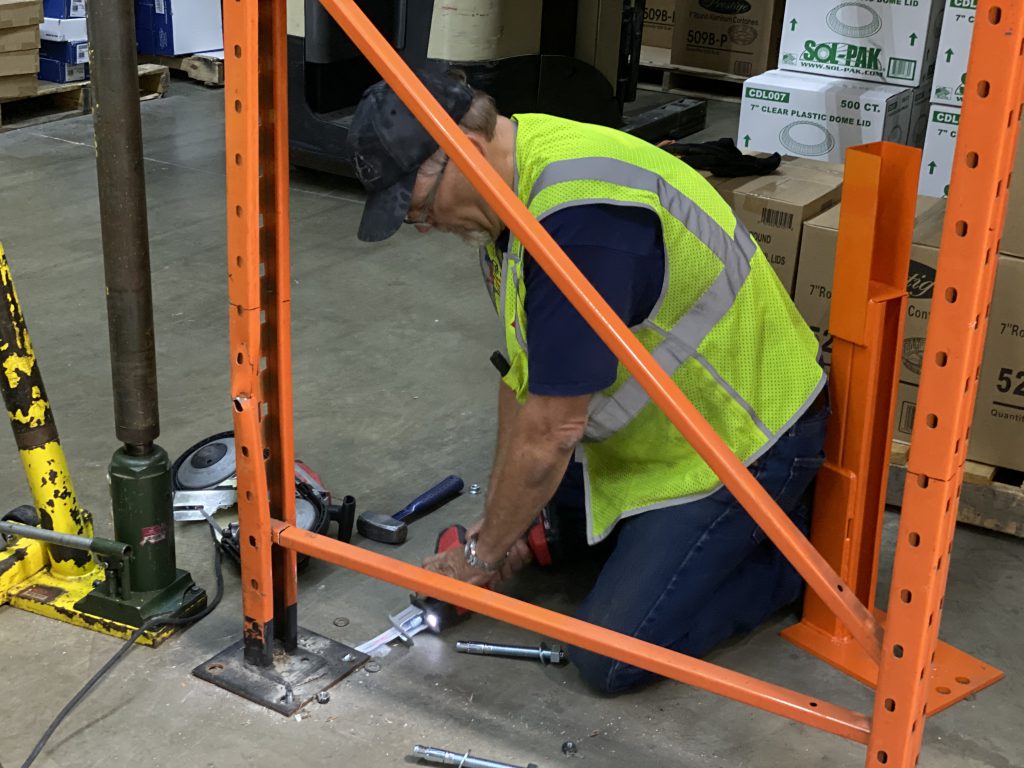
Step 3 – Engage Certified Installers to Perform Rack Repair
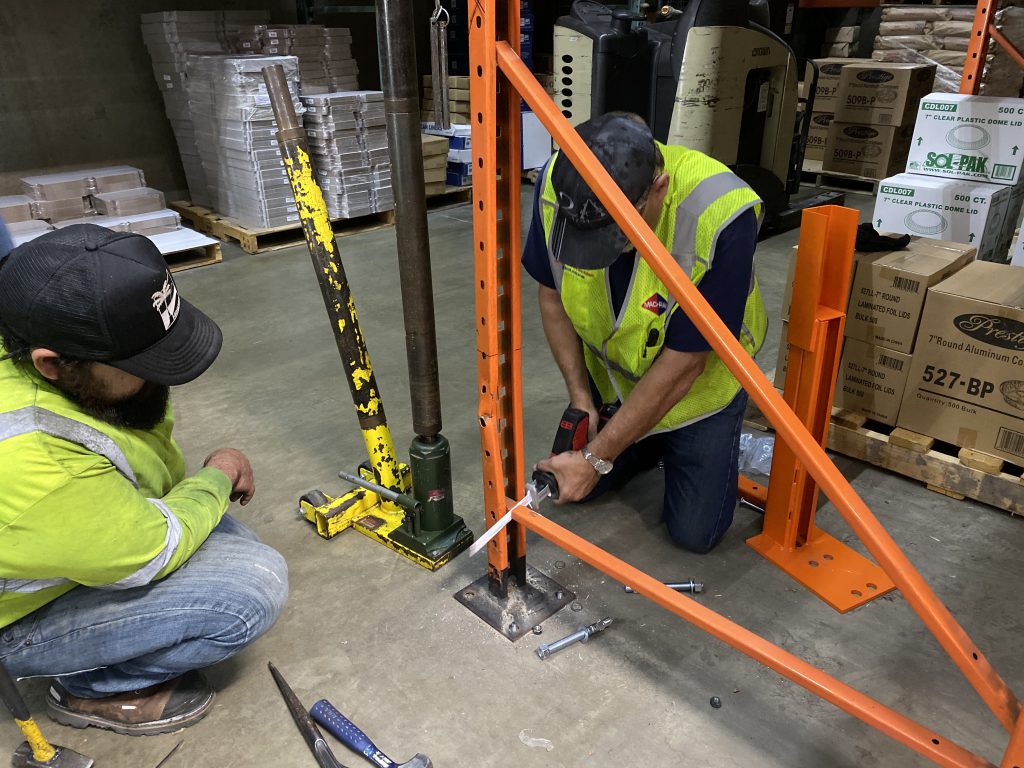
To repair racking, you will first need to unload the racking by taking down all the pallets stored on either side of the damaged upright.
Then, the upright is secured using Lean Inc.’s hydraulic jack, attaching it above the damaged area.
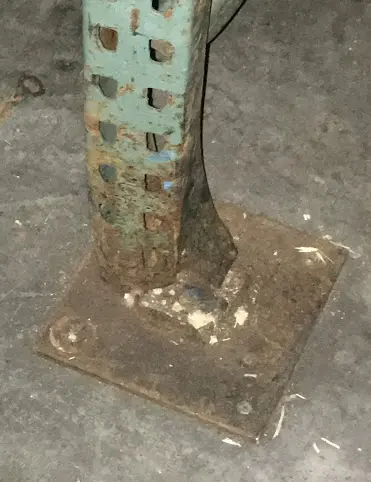
Once the rack is fully supported, the damaged area can be measured, marked, and cut away.
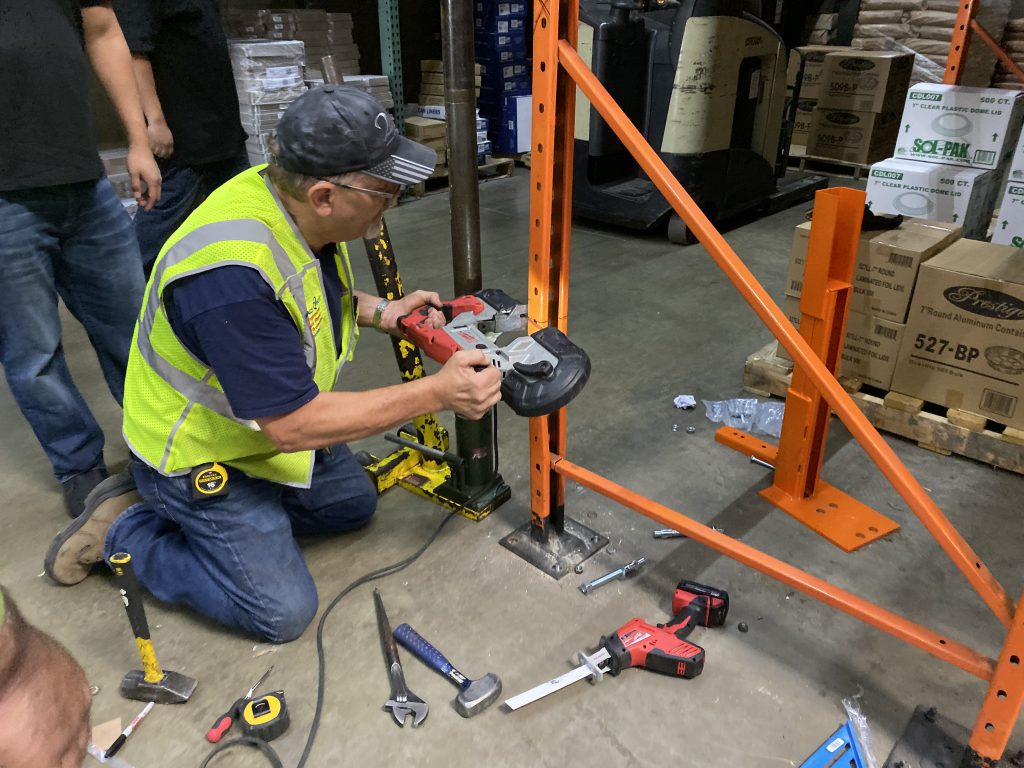
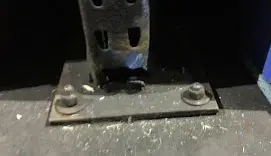
The original anchors are also cut from the floor.
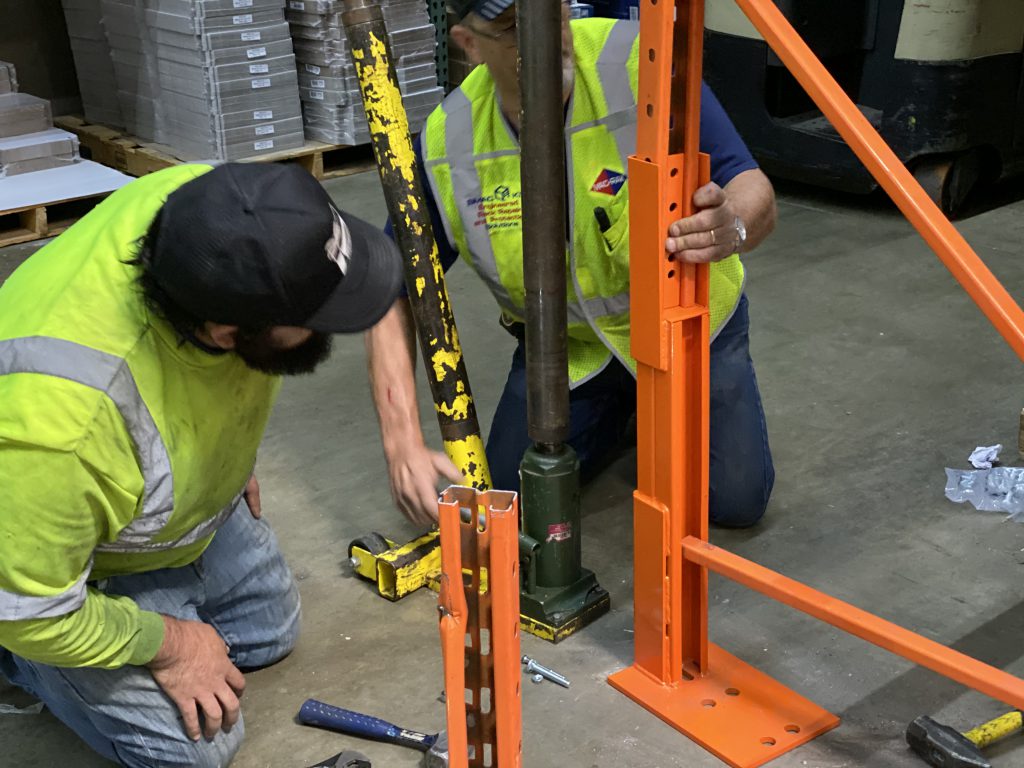
Step 4 – Replace the Damaged Upright Post with the Rack Repair Kit
The engineered and color-matched repair kit is ready to be bolted into place. The damaged rack is moved to the side as the new upright frame and base plate is carefully fitted to the existing undamaged section of the racking.
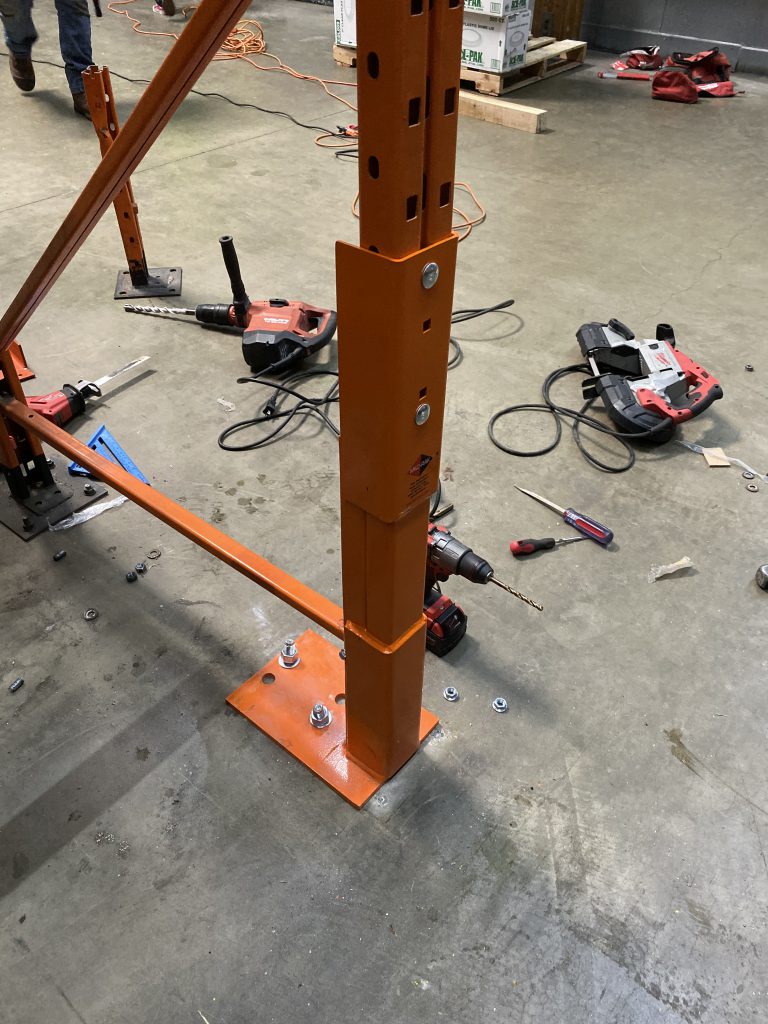
Step 5 – Secure the Rack Repair Kit to the Pallet Racking Upright using Bolts
With the damaged upright racking portion now removed, and the rack repair kit is now in place, the kit is secured to the original upright using bolts – a positive mechanical connection. That means no welding inside the warehouse is necessary.
The baseplate uses a different anchor pattern so that anchoring the repair kit base-plate to the floor is possible.
Step 6 – Protect your Pallet Racking from Future Damage with Rack Protection
The best way to have undamaged pallet racking is to protect it from damage in the first place. See below for a link to our Rack Armour column protection page.
RACK ARMOUR – COLUMN PROTECTION
Learn more about protection from impacts and rack damage reduction using Rack Armour. Click here.
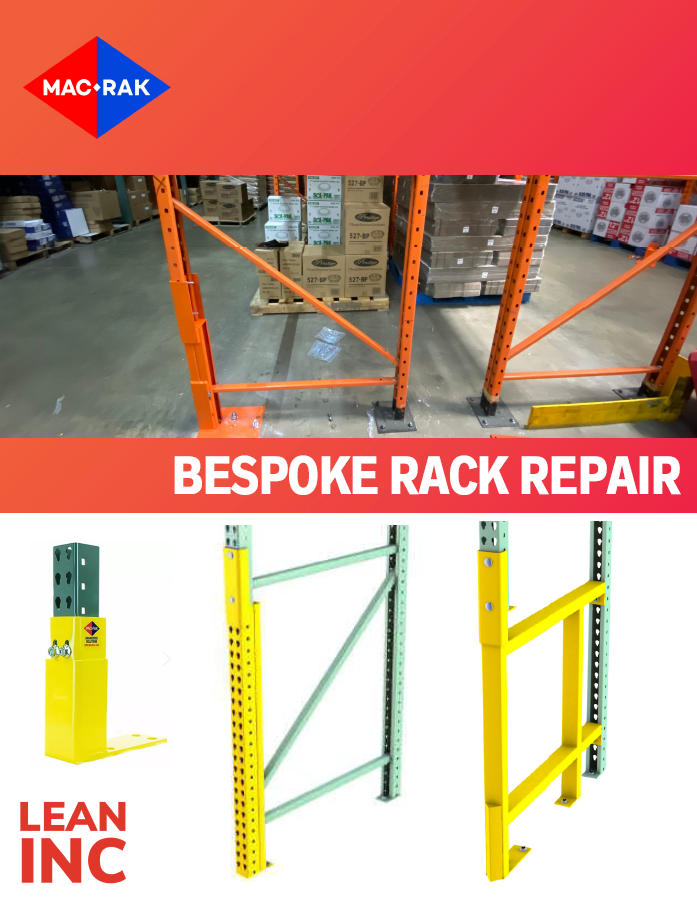
Pallet Rack Repair Brochure – click to download
Buy column guards and rack protection online here.